




Servo Feeder Installation and Setup Guide
 Jul 17, 2026|
 View:245
Servo Feeder Installation and Setup Guide for Press Machines
Installing and setting up a servo feeder on a press machine is an important step to ensure smooth operation. Changzhou Jinzhide has compiled a practical guide to help companies complete the installation and setup of servo feeders efficiently and safely.
How to Install a Servo Feeder: Step-by-Step Procedure
Before starting, position the mounting plate under the press worktable and mark the drilling points clearly. Next, use a drill to make holes at the marked positions, then tap the holes to match the screws. Once ready, secure the mounting plate to the press using M16 hex screws to ensure it stays firmly in place.
After the base installation, install the height-adjustable screw rods to prepare for fixing and adjusting the feeder head. Using a hoist or forklift, lift the servo feeder head onto the mounting plate, then secure it with M12 hex screws and flat washers. This step ensures the feeder head is firmly attached to the press for stable operation.
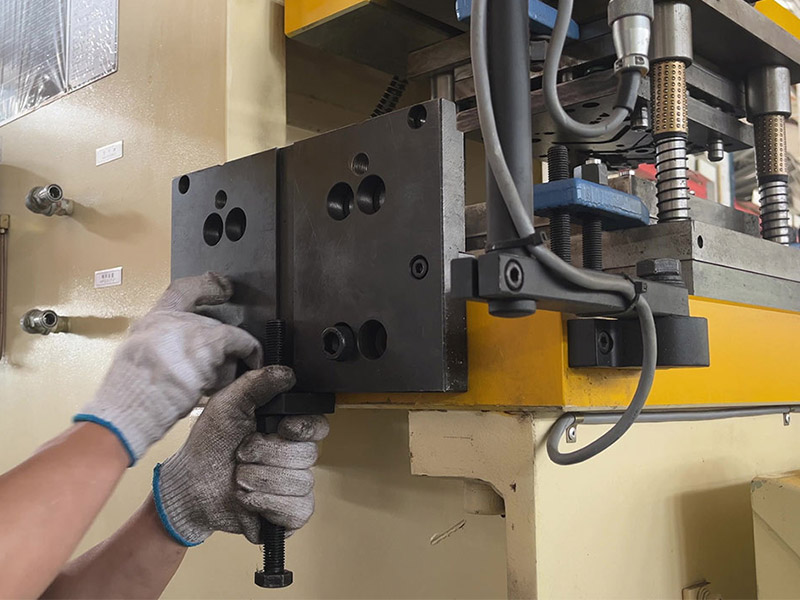
The electrical components also need careful setup. Place the feeder’s control box near the feeder head and connect the servo motor plug, pulse cable, and solenoid valve lines according to instructions. Make sure the wiring is tidy by opening the conduits and clipping them into the designated slots to keep everything organized and safe.
The pulse cable carries the press stroke signal, so this connection is what establishes press synchronization. If the signal reaches the feeder late, every stroke starts from the wrong position and no amount of mechanical adjustment will recover the accuracy.

Finally, connect the air pipes, completing the basic setup and calibration of the servo feeder. Every step in this process follows safety guidelines and precise alignment, which supports smooth operation and makes future maintenance easier.

Servo Feeder Parameter Setting and Feed Length Calibration
With the machine mounted and wired, the next stage is servo feeder parameter setting. Feed length calibration is the first parameter to set, because every other value is referenced against it. Enter the target feed length on the HMI, run the feeder without material, then measure the actual travel against the command and adjust the calibration factor until the two agree.
The table below summarizes the parameters that most affect the outcome.
Parameter | What It Controls | Check Before Production |
|---|---|---|
Feed length | Distance the strip advances per stroke | Measured travel matches the entered value |
Roll pressure | Grip between the feed rollers and the strip | No slip, and no roller marks on the surface |
Release timing | When the upper rollers open for pilot pins | Release begins before the pilots enter the strip |
Speed profile | Acceleration and deceleration within each stroke | Feed completes inside the available window |
Feeding accuracy is the sum of these settings rather than any single one. A correct feed length paired with excessive roll pressure will still mark the strip, and a correct speed profile with late release timing will still pull the material against the pilots. Set them in the order shown, then verify on the first production run.
This procedure applies to any NC servo feeder with a digital controller. Models differ in panel layout and in the number of stored programs, but the underlying sequence of parameter setting, verification and correction is the same, which is also how punch press feeder setup is standardized across machines.
Troubleshooting the First Run
Most problems on a newly installed feeder trace back to one of three sources. Short feeding usually points to roll pressure or to a calibration factor that was set without material in the machine. Random length variation points to the pulse signal rather than the mechanics, so recheck the cable routing and the press signal. Roller marks on the strip point to excessive pressure, not to insufficient grip.
If feeding accuracy still drifts after these checks, record the measured error across a full shift before adjusting anything further. Persistent deviation that follows a pattern is a setup issue, while deviation that changes with speed or temperature is usually mechanical wear. Maintenance procedures for worn rollers and drives are covered in the coil feeder maintenance service.
By following a standardized installation procedure, companies can deploy servo feeders more smoothly, improving press machine stability and productivity. For operators, understanding these steps can reduce errors and support safer working conditions.
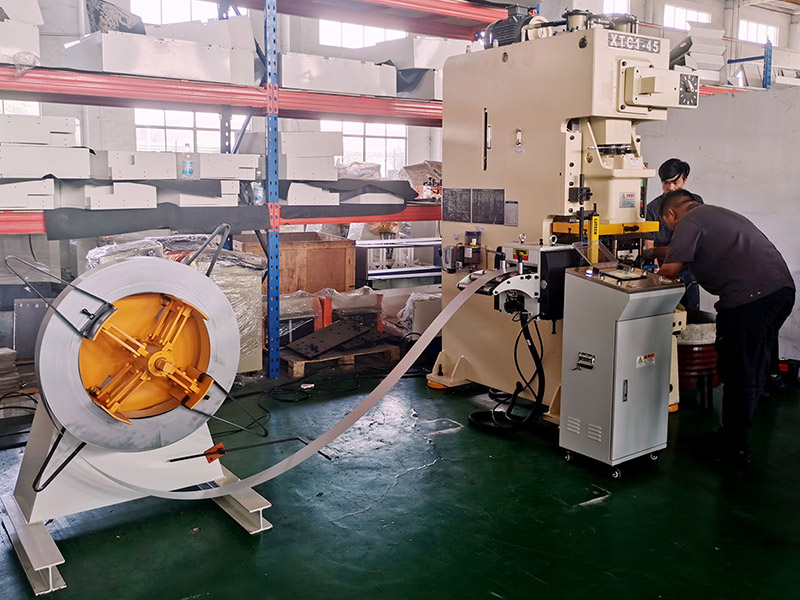
This installation guide is suitable for different types of press machines. Clear and simple steps mean that even first-time users can follow the instructions and complete the setup successfully. To compare feeder models before installation, start from the servo feeder range, or review the servo feeder selection guide if the machine has not been ordered yet.